Upgrading your John Deere tractor's radio can significantly enhance your operating experience, turning long hours in the cab into more enjoyable ones. However, the high cost of OEM (Original Equipment Manufacturer) radios and the sometimes-daunting installation process often deter owners. This comprehensive guide provides a step-by-step approach to installing an aftermarket radio, suitable for both novice and experienced users. We'll cover choosing the right radio, understanding John Deere's wiring systems, and safely installing your upgrade. For comfortable seating while you upgrade, check out these tractor seat options.
Understanding John Deere Tractor Radio Systems: A Simplified Overview
Before you begin, it's crucial to understand your tractor's electrical system. John Deere tractors, even within the same model series, can have different radio wiring harnesses depending on the year and specific model. You may encounter terms like REI (Radio Electronic Interface) and ASA (Agricultural Sound Amplifier), which simply refer to the way the radio interfaces with your tractor's electronics. Think of them as different connector types for your phone; you need the right one for a proper connection.
Identifying your tractor's make, model, and year is the critical first step. This information helps determine the specific wiring harness type and compatibility with aftermarket radios. Consult your owner's manual or an online parts catalog for this information. Older models often require more involved wiring compared to newer tractors which might offer simpler plug-and-play options.
Choosing the Right Aftermarket Radio: Considerations for a Successful Upgrade
Selecting a suitable aftermarket radio involves several key considerations:
- Budget: Set a realistic budget before you start shopping. While cost-effective options exist, avoiding extremely cheap radios is advisable for reliability and longevity.
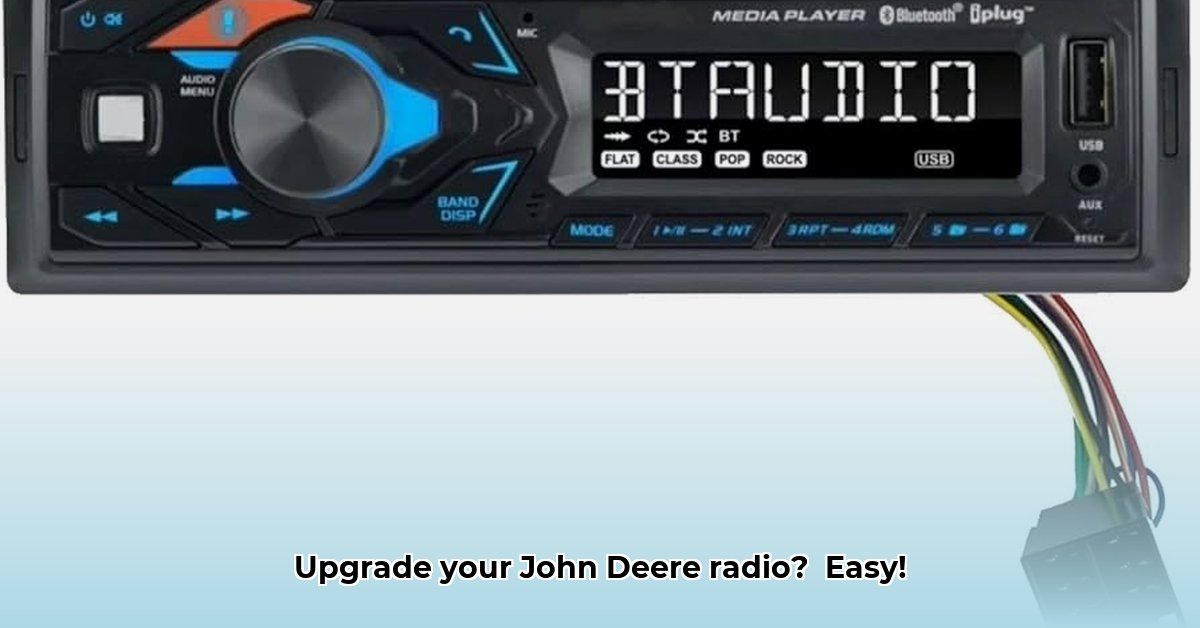
- Features: Consider essential features like Bluetooth connectivity for hands-free calling and music streaming, USB ports for media playback, and auxiliary inputs for additional devices.
- Compatibility: This is crucial! Ensure the radio is compatible with your tractor's electrical system. Check the manufacturer's specifications and compatibility charts carefully. Many aftermarket suppliers provide detailed compatibility information for various John Deere models and years. Reading online reviews from other John Deere owners can also provide valuable insights and recommendations.
- Size and Mounting: Measure the available space in your tractor's dashboard to ensure the radio fits properly.
Installation Guide: Plug-and-Play Method (For Newer Models)
For newer John Deere models, a plug-and-play installation is often possible, making the upgrade process significantly easier.
- Safety First: Ensure your tractor is completely turned off and the key is removed. Disconnect the negative terminal of your tractor's battery to prevent accidental shocks or short circuits.
- Radio Removal: Carefully remove the old radio. This typically involves removing screws or releasing clips. Be gentle to avoid damaging any components.
- Connecting the New Radio: Connect your new radio's harness to the existing wiring harness in your tractor. It should be a straightforward plug-and-play connection. If it doesn't seem to fit correctly, double-check all connections and consult the radio's installation manual.
- Testing: Reconnect the battery's negative terminal. Turn the ignition ON (without starting the engine) and test your new radio. If it works, congratulations!
Installation Guide: Hardwire Method (For Older Models or Advanced Features)
Hardwiring your new radio offers greater flexibility but requires more technical expertise. Proceed with caution and consult a qualified technician if unsure.
- Safety First (Again!): Disconnect the negative terminal of your tractor's battery before starting any wiring work.
- Wiring Diagram: Obtain a wiring diagram for your specific John Deere model. This will guide you in identifying and connecting the correct wires.
- Wire Connections: Connect the power, ground, speakers, and antenna wires according to the radio's and your tractor's wiring diagrams. Accurate wire identification is crucial to avoid damaging your tractor's electrical system. A wiring harness adapter may simplify the process, especially for older models. Ensure a secure ground connection to prevent interference and malfunction.
- Testing and Securing: Reconnect the battery's negative terminal and test your new radio. If everything is working correctly, securely mount the radio in its designated location.
Troubleshooting Common Issues: Addressing Installation Problems
Even with careful installation, you might encounter problems. Here are some common issues and potential solutions:
- No Power: Check all power and ground connections. Check for blown fuses in your tractor's fuse box.
- Sound Issues: Verify speaker wire connections and ensure they're connected correctly to both the radio and the tractor's speaker system.
- Bluetooth Problems: Refer to your radio's manual for pairing instructions. Ensure Bluetooth is enabled on both your radio and your device.
If the problem persists, consult your radio's installation manual or seek professional help.
Safety Considerations: Protecting Yourself and Your Tractor
Always prioritize safety when working with your tractor's electrical system. Improper installation can damage your tractor, void warranties, and create safety hazards. Never work on the electrical system with the engine running. Use appropriate safety tools and techniques. If unsure, seek professional assistance.
Conclusion: Enhancing Your John Deere Experience
Upgrading your John Deere tractor's radio is achievable with careful planning and execution. By following this guide, you can significantly improve your in-cab experience. Remember to prioritize safety, double-check all connections, and consult professional help when needed. Happy listening!
Resources: Suppliers, Tools, and Further Information
- [Insert Link to Reputable Aftermarket Radio Supplier]
- [Insert Link to John Deere Parts Catalog]
- [Insert Link to Relevant Forums or Online Communities]